8 Creative Steps How to Lay a Affordable Budget-Friendly Gravel Paths for Garden and Yard
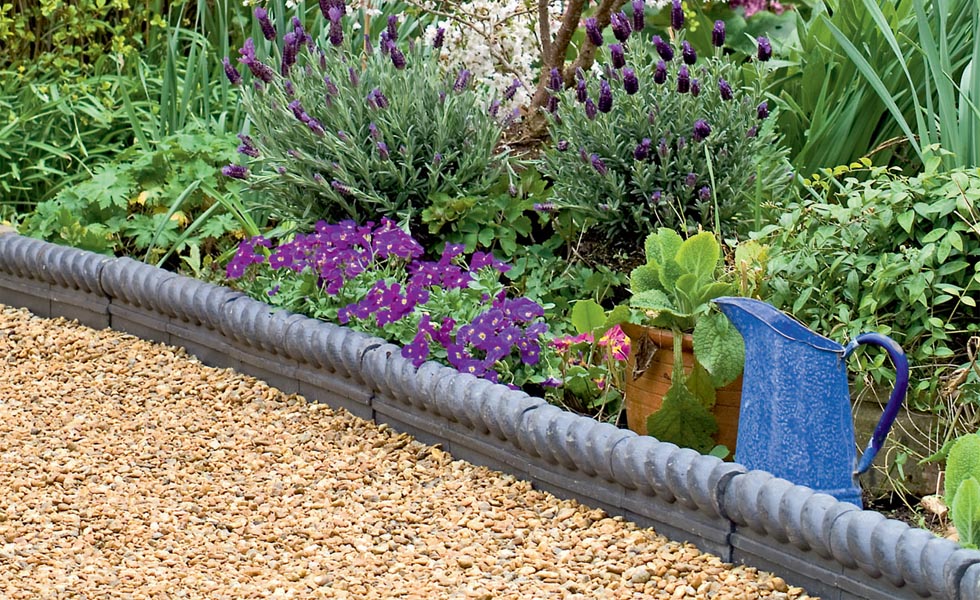
A gravel path adds a touch of elegance to any garden design with sharply defined edges and that satisfying crunch underfoot. Plus, it is the quickest and cheapest way of making a path for the garden.

How to Lay a Affordable Budget-Friendly Gravel Paths for Garden
Planning Your Garden Paths
- Before starting any work, mark out the proposed route with string or marking paint, in a straight or curving shape. Live with this for a while to make sure you have chosen the ideal position, and look at the effect from an upstairs window in the house.
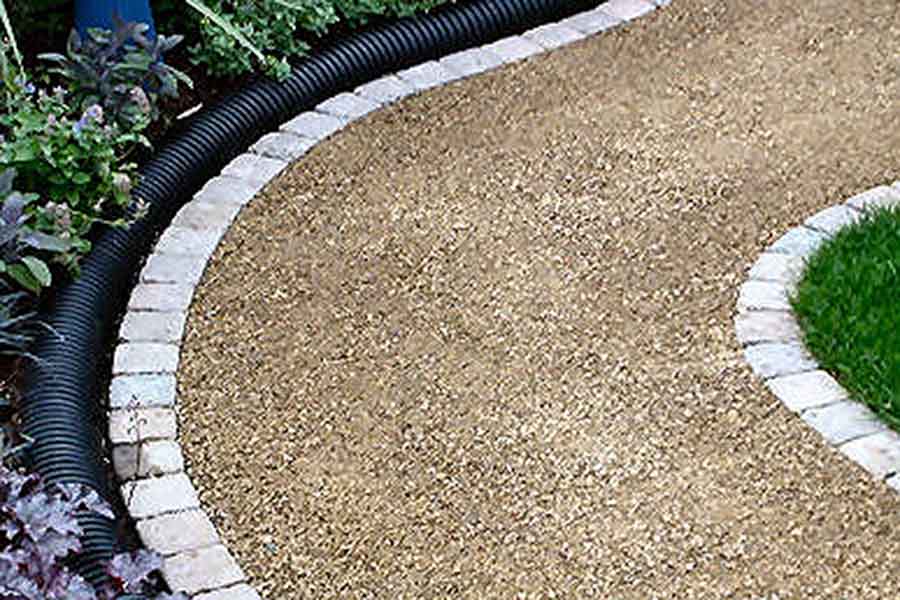
- Gravel must be kept in its place otherwise it can start to look unsightly. Simple timber gravel boards will overcome this, nailed to wooden pegs at one meter intervals, but decorative edges are both functional and attractive.
- A practical gravel path between the front door and the gate will be well used so needs to be on a firm, level base that is preferably wide enough for two people, a pram or a wheelchair. A more frivolous garden path can meander around flower beds to draw you towards hidden corners or a secluded bench.
How to lay a gravel path?

10 Tools You Will Need:
- Steel tape
- String
- Spirit level
- Sharp spade
- Rake
- Concrete
- Hardcore “optional depending on quality of soil “
- Mortar
- Brick trowel
- Gravel or decorative aggregate “allow 40 kg per sq m”
How to lay a gravel path steps (1 and 2)
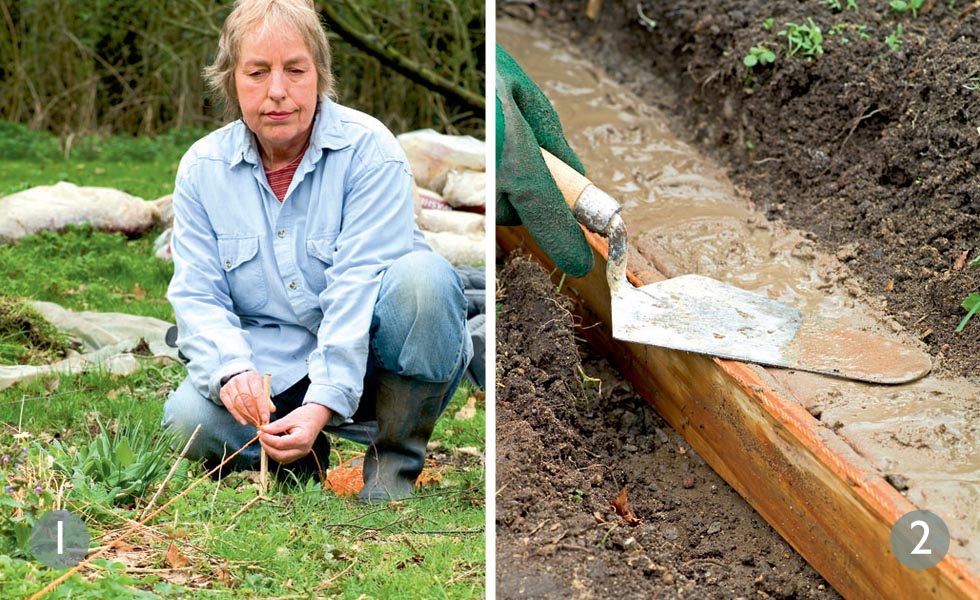
1. Mark out the path
Use a length of hosepipe to firm up a position. If the path runs adjacent to the house ensure it is at least 16cm below the level of the damp proof course. Leave a gap of at least 23cm between walls and path to prevent heavy rain wetting the walls. If the path is curved, choose edging in shorter lengths for a smoother look.
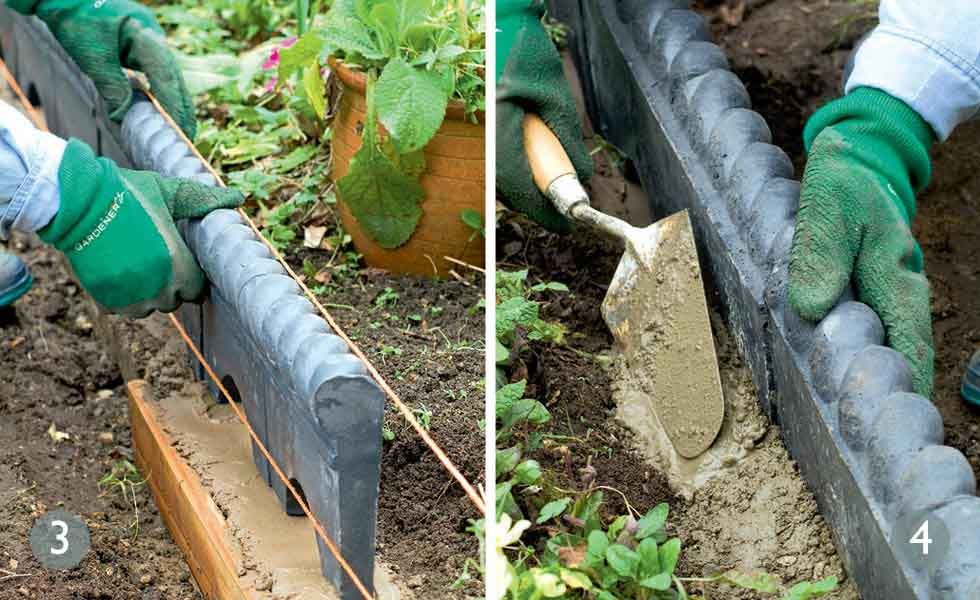
2. Dig an edging trench
The depth of the trench will depend on the soil, the height of the edging and the ‘upstand’ – the difference in height between the top of the edging and the path. Compact the base with the head of a rake. At the bottom of the trench lay a concrete foundation approximately 10cm deep. Smooth with a trowel and check levels.
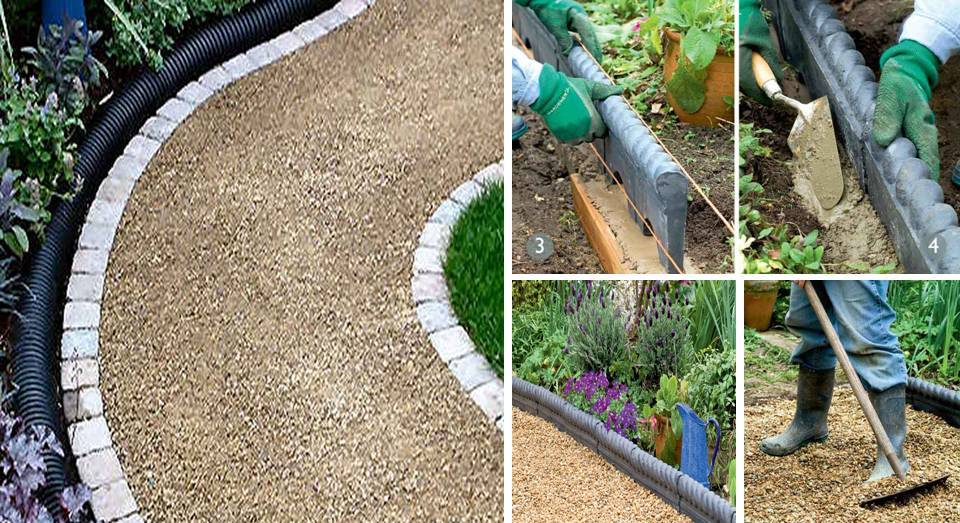
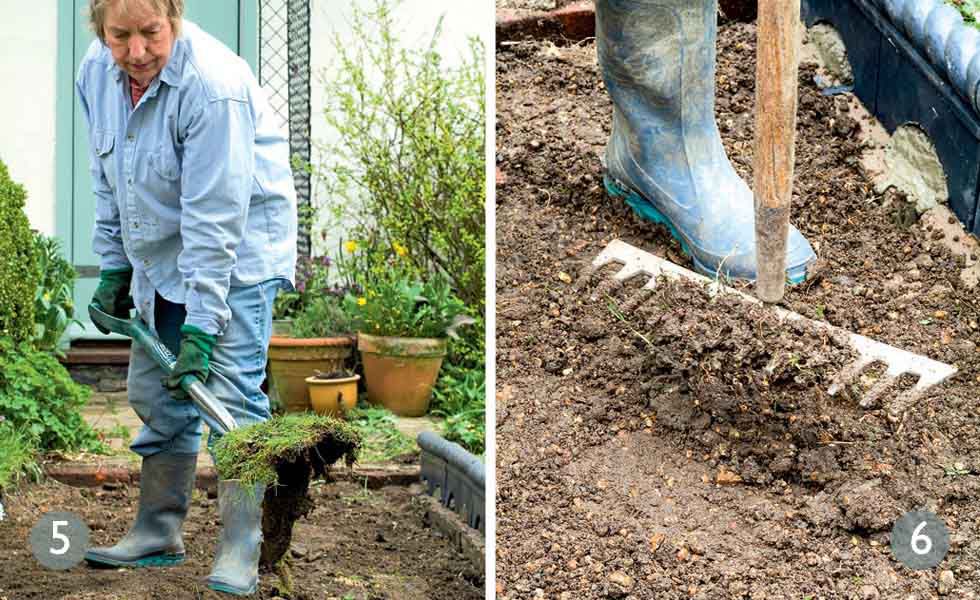
3. Bed in the edging
Once the concrete has set, fix up a string line to guide the top of the edgings. Set up a second line to guide the front edge. Spread an even layer of mortar to bed the edging stones.
Allow a gap of about 3mm to 4mm between each one. Cover with plastic sheeting to protect from rain or from drying too quickly.
4. Haunch the edging
Wait for a day or so for the mortar to set then use concrete to ‘haunch’ or support the edging. This is carried out behind the edging stones for up to two thirds of the height. To aid drainage use your trowel to slope the concrete away from the edging. Afterwards, once the soil is reinstated, the hunching will be hidden.
5. Remove turf and soil
Allow the edging to dry sufficiently before tackling the path. Remove grass and soil to a depth of 10cm to 15cm; the depth will depend upon soil conditions. You may even be lucky enough to find the remains of a previous path. Remove grass and all vegetation otherwise this will rot down and cause unevenness in the future.
6. Compact the soil
For narrow paths use the head of a rake or a sturdy piece of wood to firm down the soil. For larger paths use a garden roller or hire a vibrating plate. If the sub-soil is soft add a few inches of hardcore or scalping stone and compact once more. Level with gravel to prevent the hardcore working to the surface as the ground settles.

7. Add a weed membrane
Lay a piece of discarded carpet or a layer of permeable membrane, which allows rain to pass through it but will keep the gravel separate from the soil below. It will help to keep the path weed-free, too. Occasionally rake the stones to keep the path smooth and deter any colonizing growth.
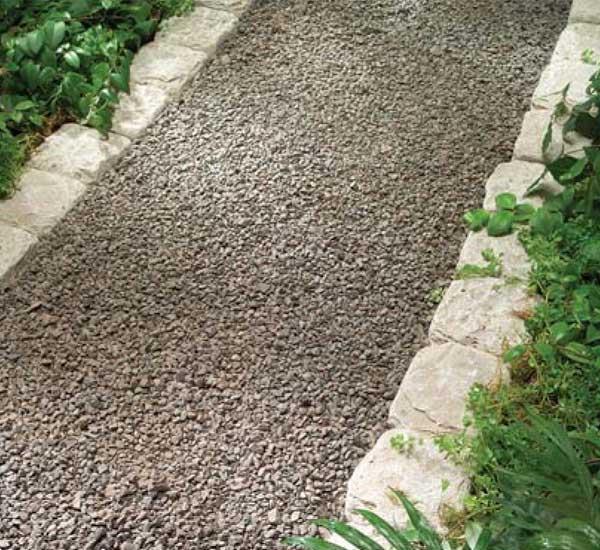
8. Distribute the gravel
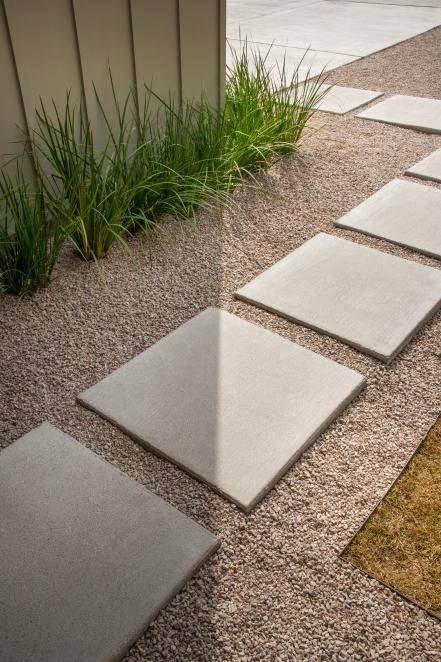
Gravel and decorative aggregates come in a variety of colors from buff to pink and grey. Bear in mind existing landscaping colors when choosing. Smaller sized aggregates look proportionally better on a smaller path. With a rake spread gravel to a depth of 2-3 cm evenly on to the membrane.
A gravel path has practical advantages, too. Rain will permeate through it and soak away into the soil, so during heavy rainfall there won’t be a problem caused by run-off, when surface water surges directly into an overloaded drainage system. If at a later date you decide to alter the garden layout, a gravel path is easily reversible.
]]>
Here are some easy and cheap yard or garden paths Ideas that you can DIY
The best gravel path design will add value to your yard or garden yet is an inexpensive feature to create.

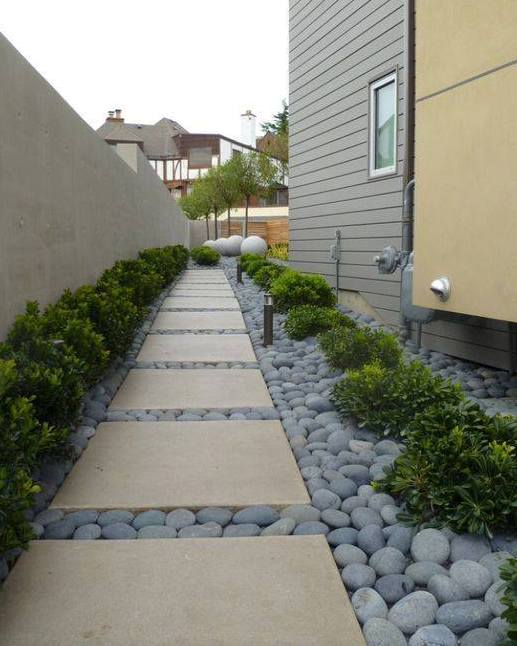
How to lay out and edge DIY amazing gravel paths, paver walkway and stepping stones with professional looking results.

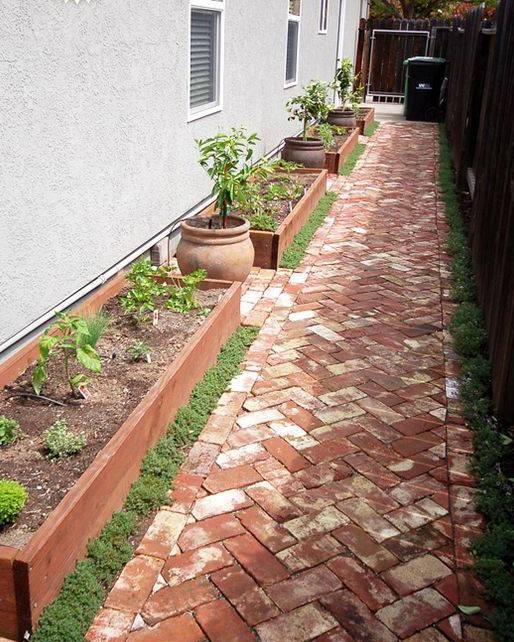
How to make a garden path with gravel

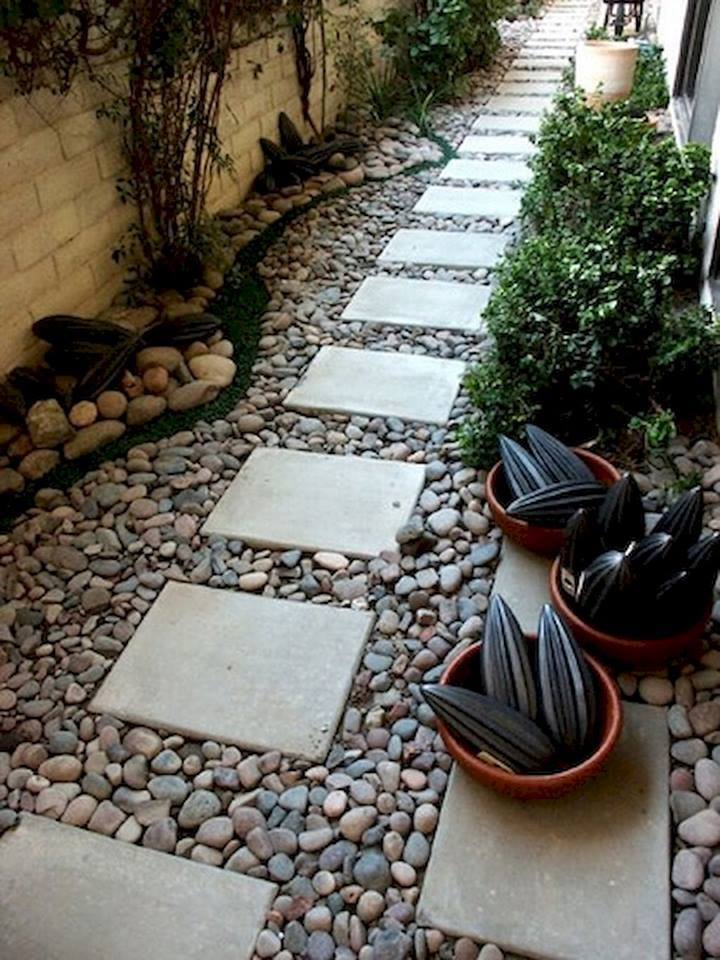
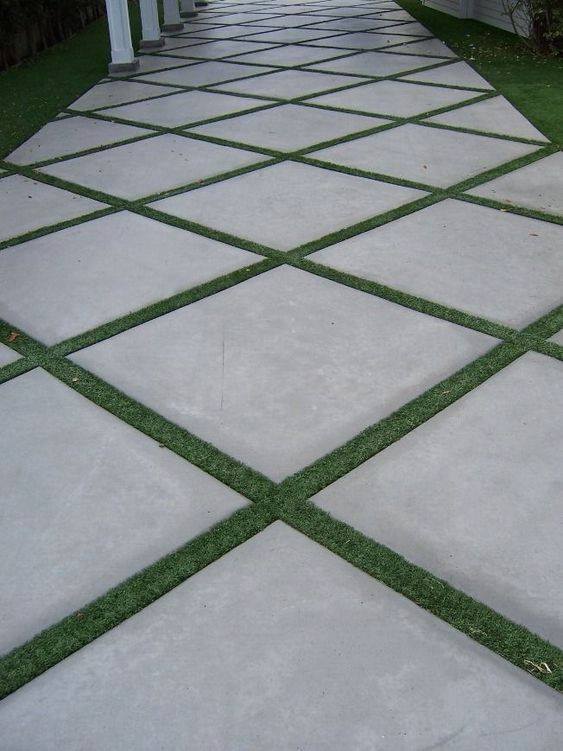
Easy and Cheap Walkway Ideas for Your Garden

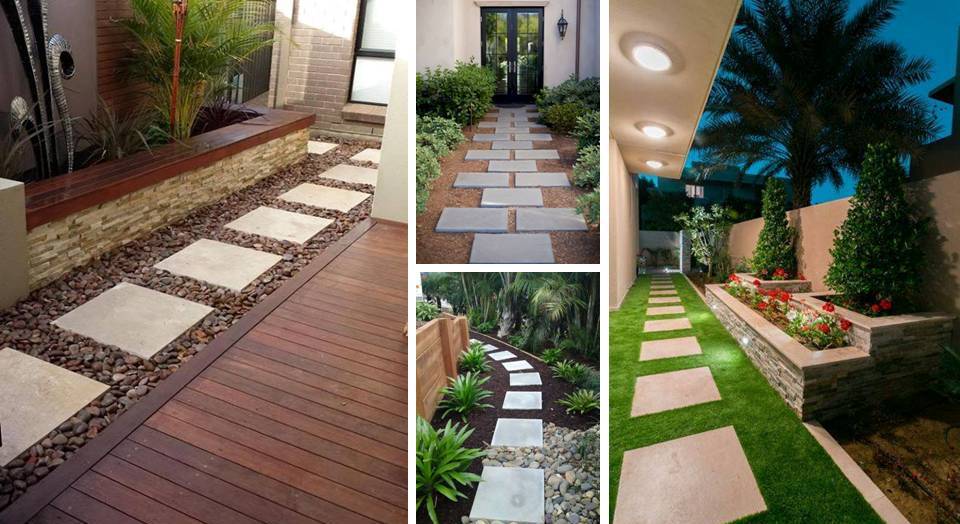
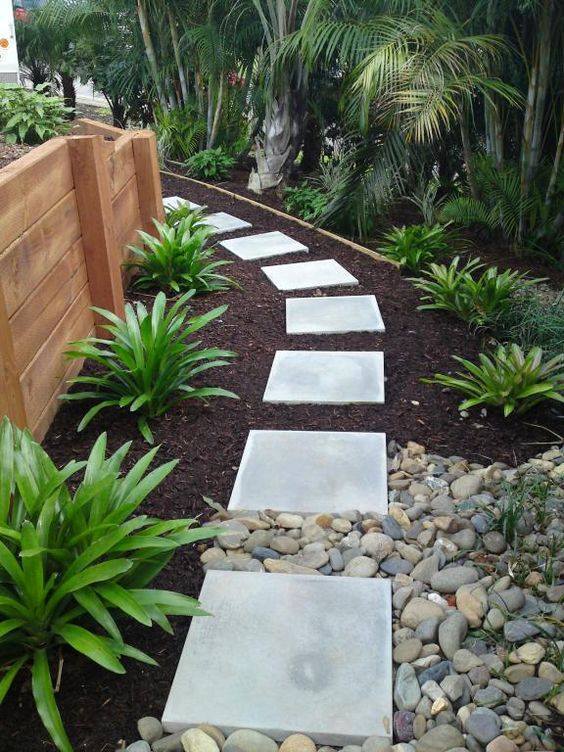
The best Garden paths and stepping stones
How to Lay a Budget-Friendly Gravel Path?

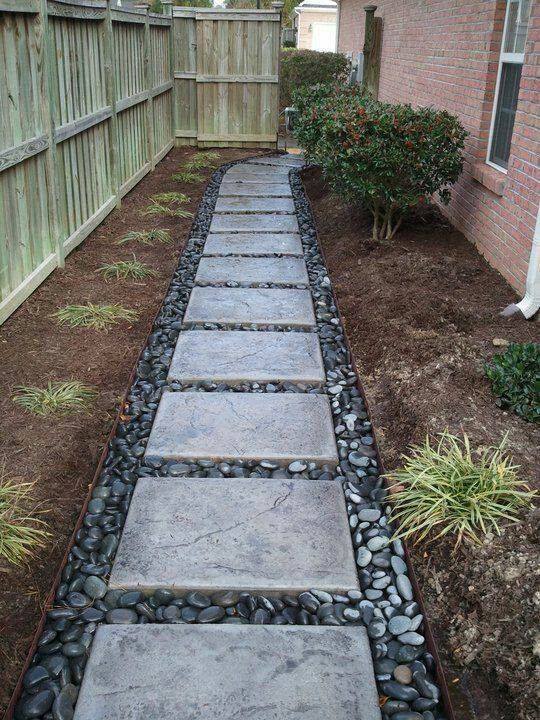
Affordable Best Garden Paths and Walkways Images
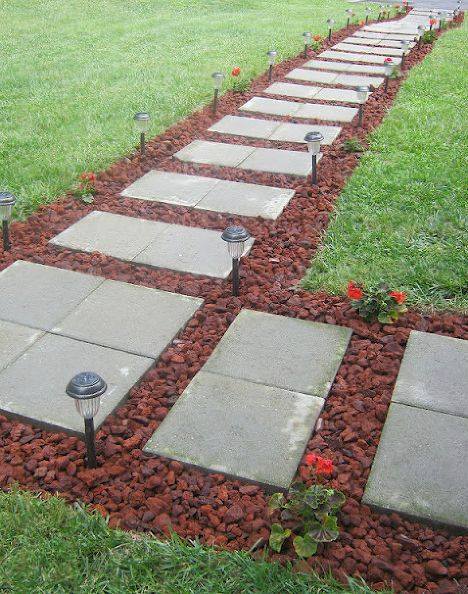


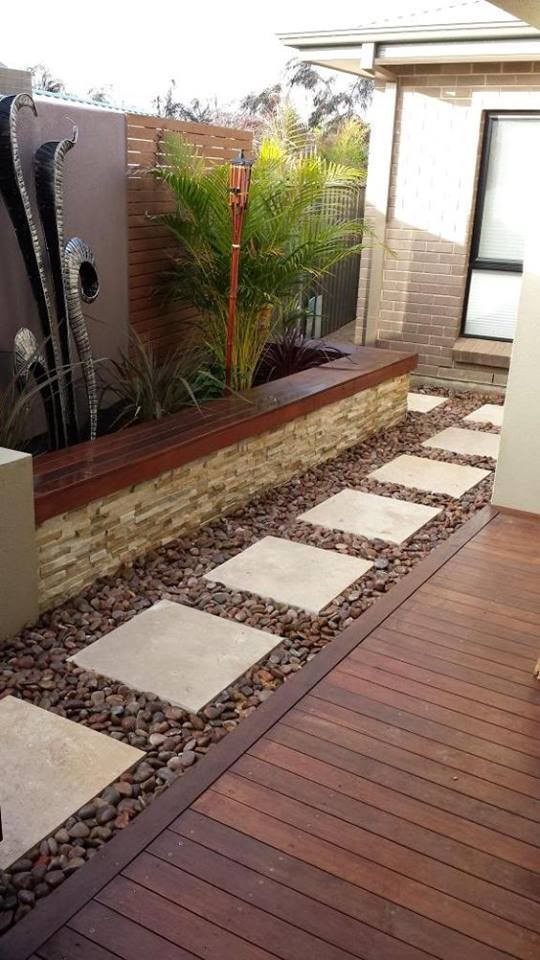
DIY Garden Path Ideas
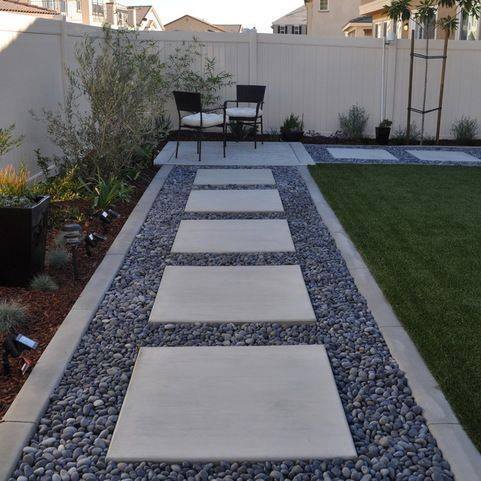
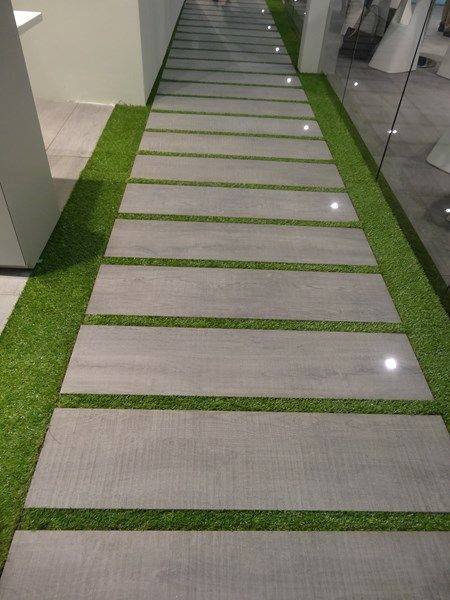
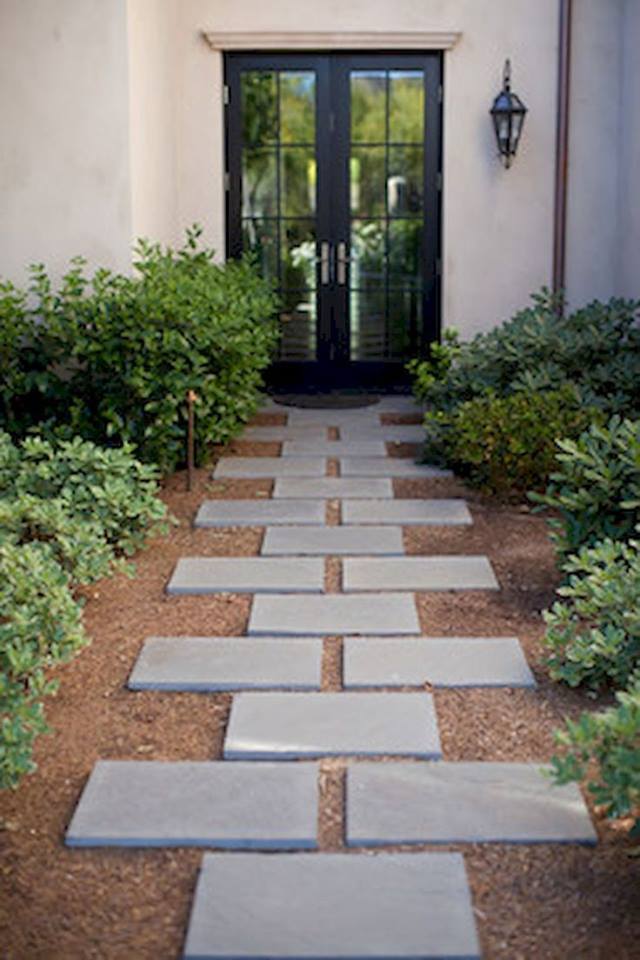

Inexpensive Paths, Walkway And Stepping Stones Ideas for Your Backyard