Spectacular Space Saving DIY Corner Shelves Designs
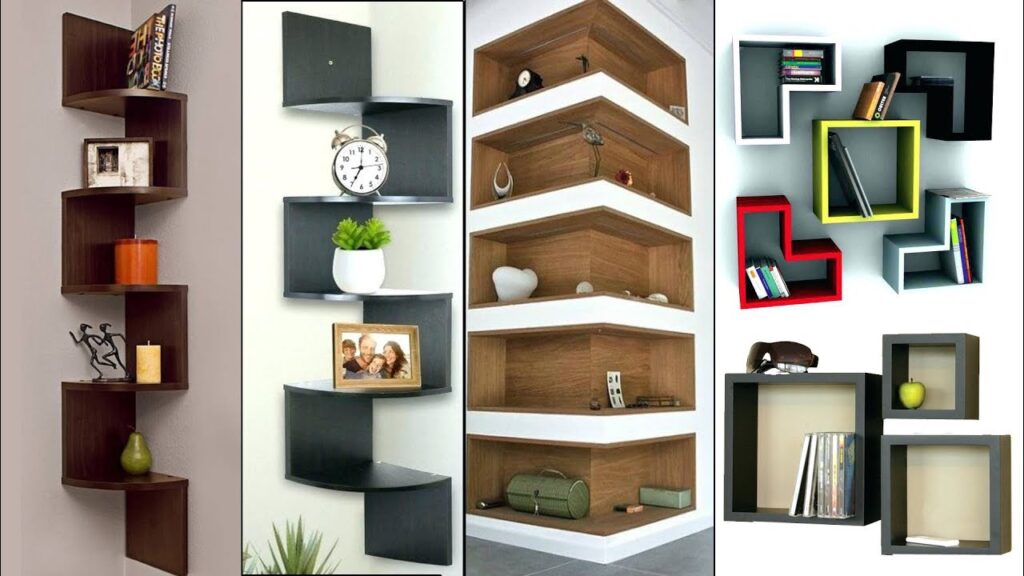
When you have limited storage, corner shelves are a fantastic solution.
They slip into an otherwise empty spot, creating extra functional shelves without getting in the way.
Whether you live in an apartment or a large house, these DIY corner shelves designs can help make the most of the available space.
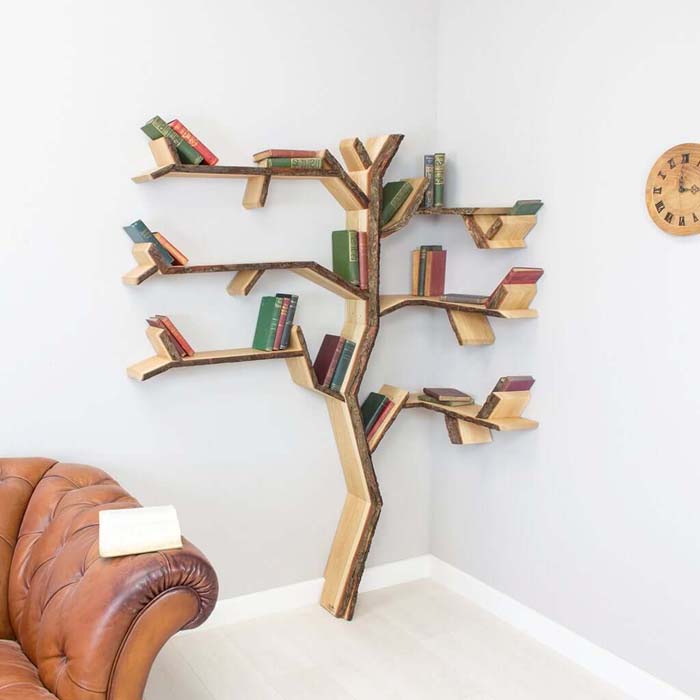
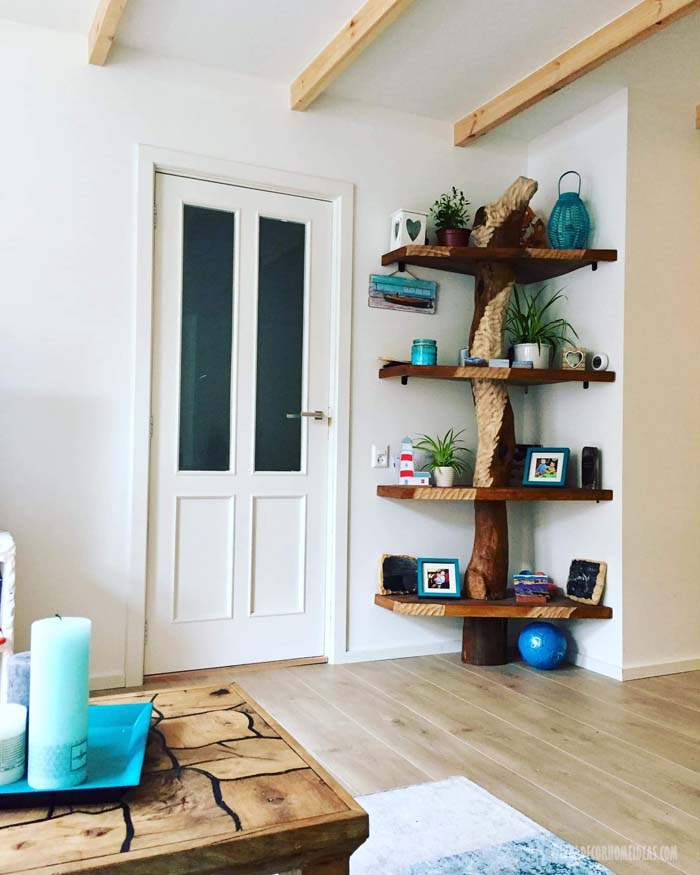
If you want the perfect bookshelf that will have your guests stopping and staring at it you should consider making your own one of a kind corner tree bookshelf.
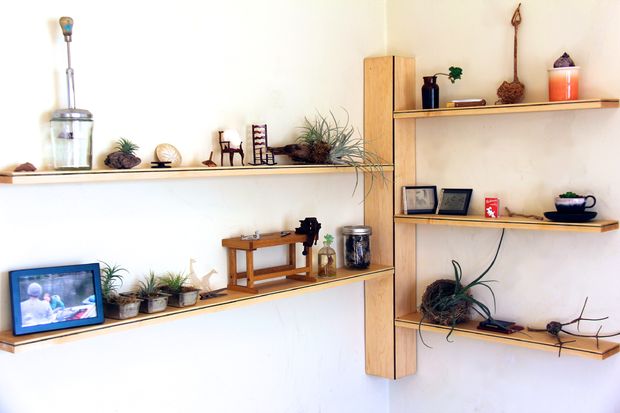
Get out your woodworking tools — you’ll need them to build this beautiful corner shelf.
It consists of wedge-shaped shelves and square side panels.
The alternating side panels allow your wall covering to peek through, creating a light, airy feeling to this otherwise substantial unit.
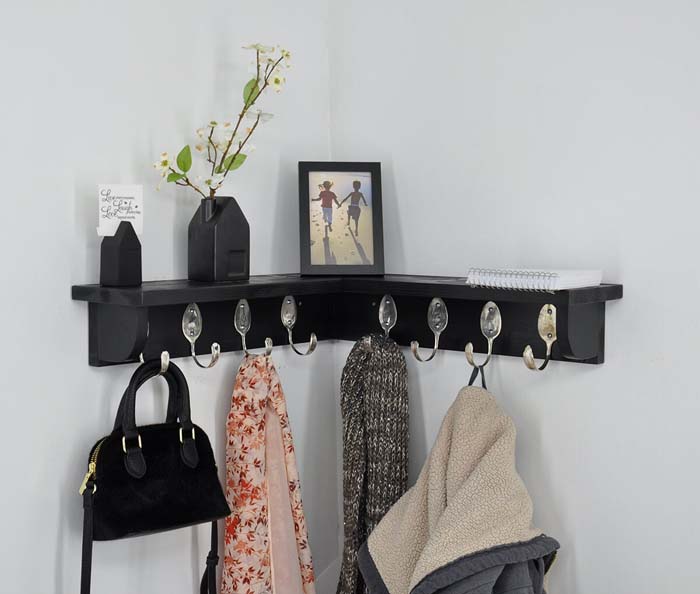
Is your front entryway too small for a coat closet?
Make use of an unused corner with this clever corner coat rack.
The L-shaped design creates plenty of space to hang scarves, jackets, and bags.
Add a small top shelf to store your keys or display decorative items.
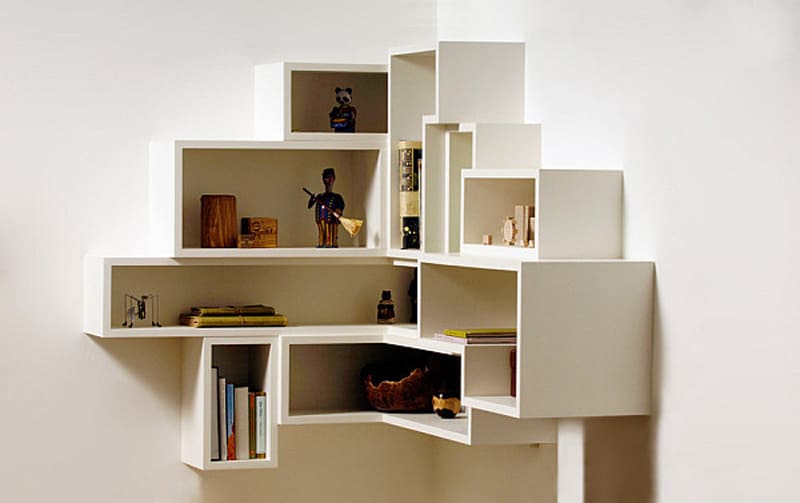
Shelves become modern art in this fascinating design, which uses triangular wood panels in varying sizes.
The floating hardware creates a clean, contemporary look. The trick?
Orient the shelves to highlight their differences; this turns the arrangement into an art installation as well as a useful storage space.
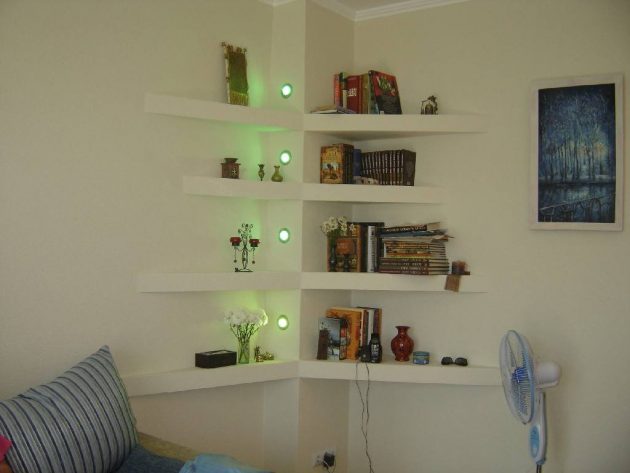
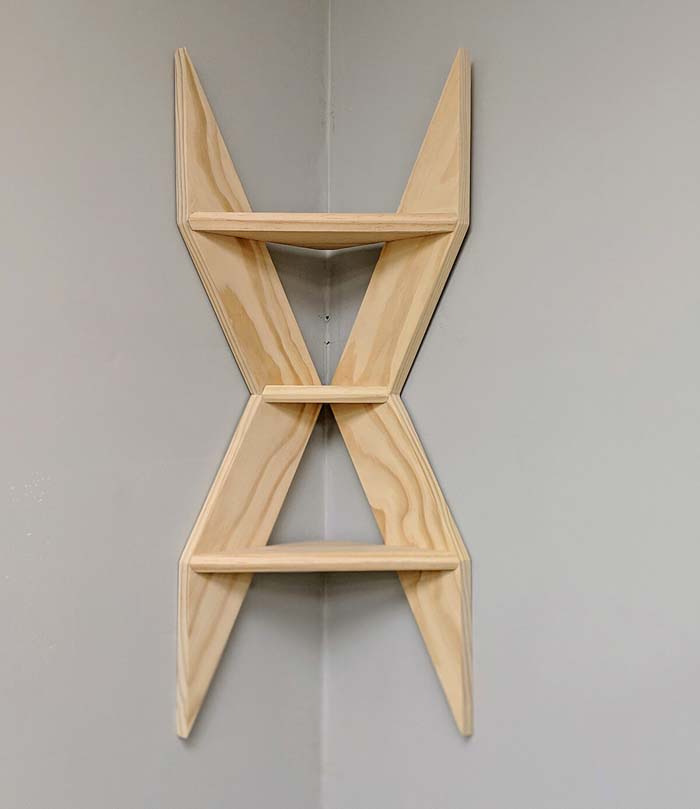
Here’s another DIY shelf project that doubles as a decoration.
This design is all about the X-shaped braces, which extend above and below the shelves to create a big statement.
Leave the wood unfinished to soften the effect of the striking shape, or paint it to match or complement your walls.
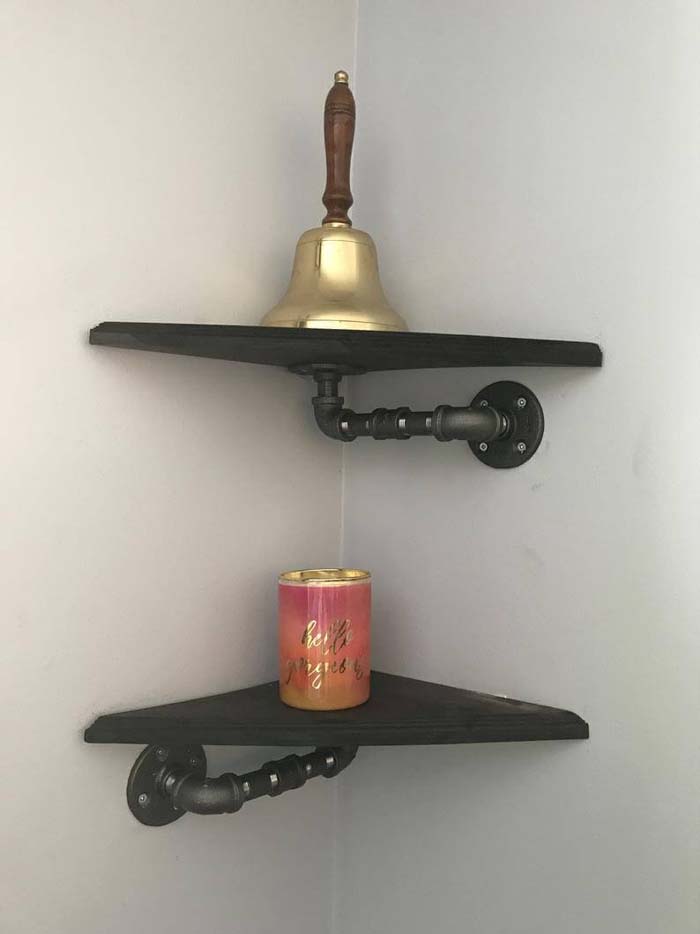
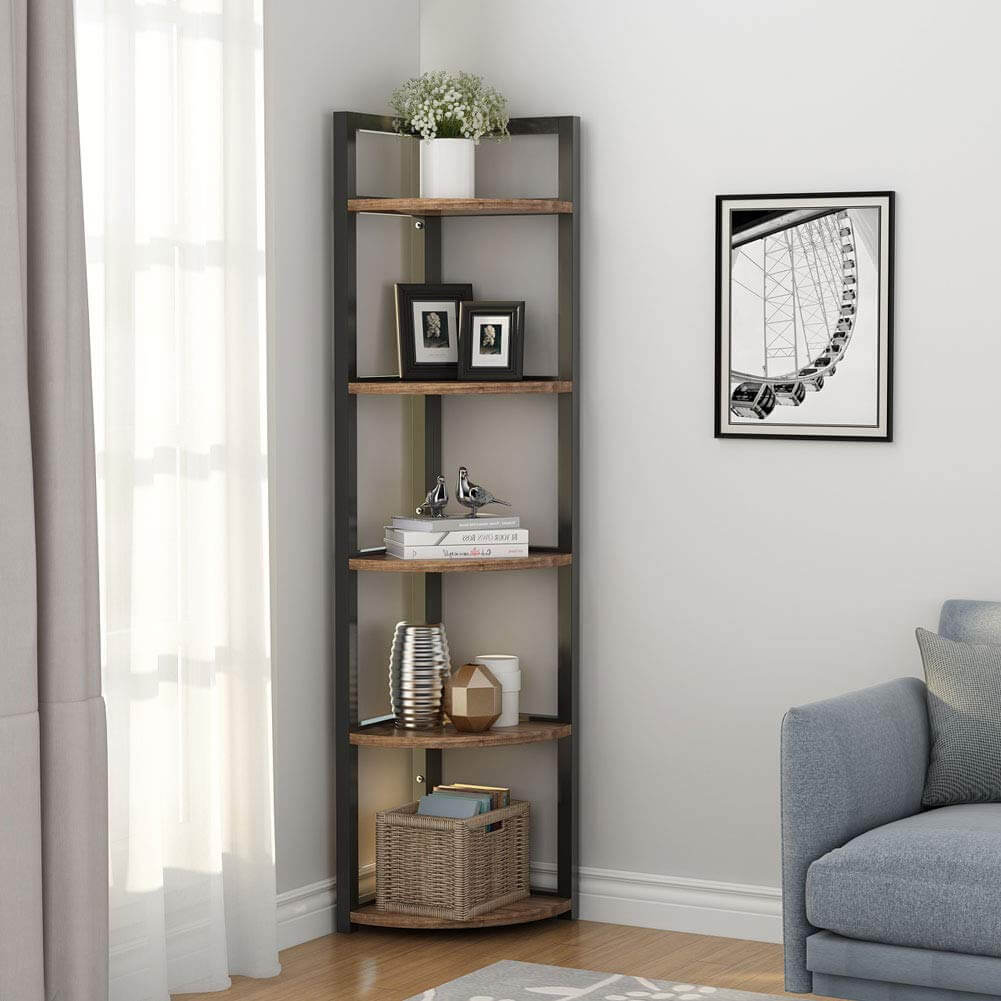
Need more closet space? A corner becomes a small closet when you install a corner shelf with a hanging rail.
This industrial-style project features natural wood and metal pipes; we love how the pipe fittings bring a cool, loft-inspired vibe to your room.
Use the shelf to store accessories or shoes, and rely on the sturdy bar to keep your hanging garments in order.
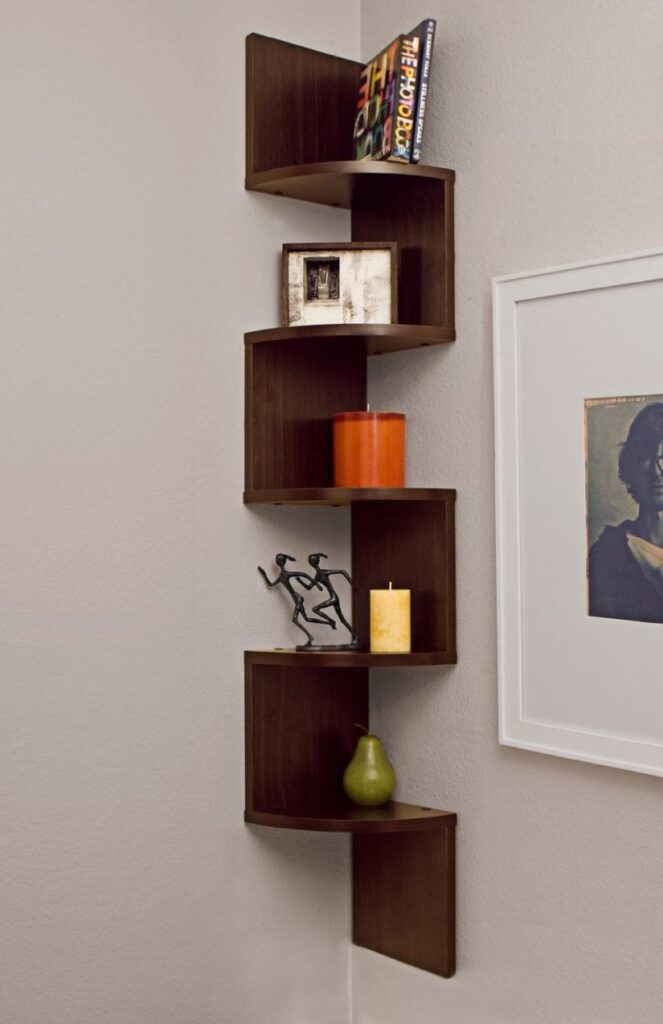
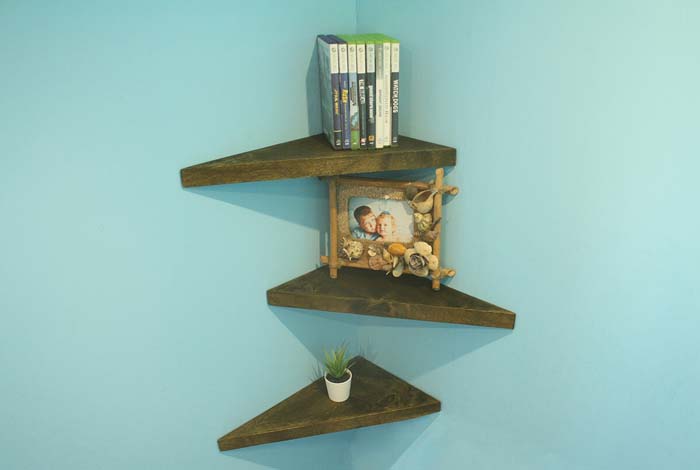
When you need extra storage on a budget, this DIY corner shelf is a great solution.
You can make it with wood scraps or pick up the wood planks without breaking the bank.
Wedge-shaped supports provide an impressive amount of stability and strength.
Tuck this little shelf in a bathroom, hallway, or bedroom for an easy-access storage spot.
Celebrate your love of wine by turning a corner of your home into a dedicated wine-storage space.
Stacked triangular shelves create a handy spot for a collection of bottles.
For extra convenience, turn the bottom of one shelf into a hanging rack for stemware.
If you’re not a woodworker, you can also purchase these shelves.
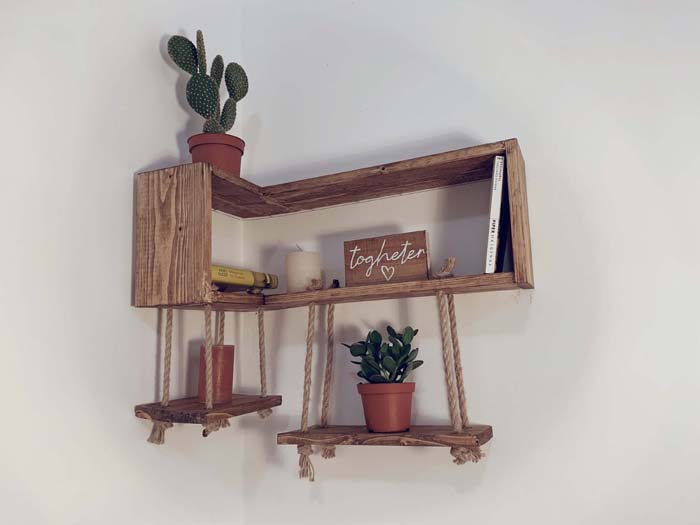
Turn an old wooden pallet into a beautiful shelving unit with a few nails and screws.
The offset plank layout creates a sense of movement that’s echoed in the alternating shelves; the result is charming and unique.
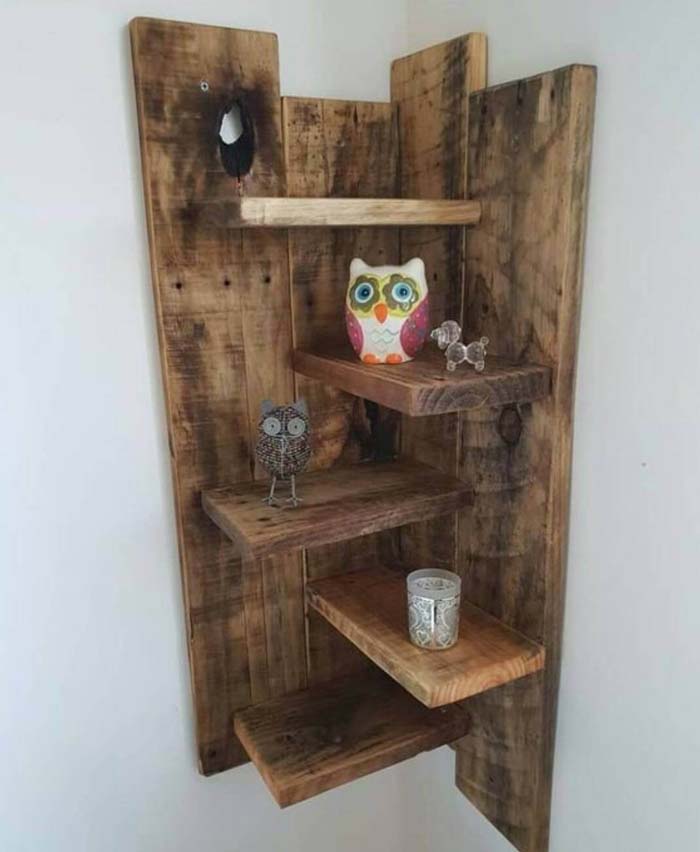
Leave the wood in its distressed form for a rustic look, or add a coat of paint for a cottage-style design.
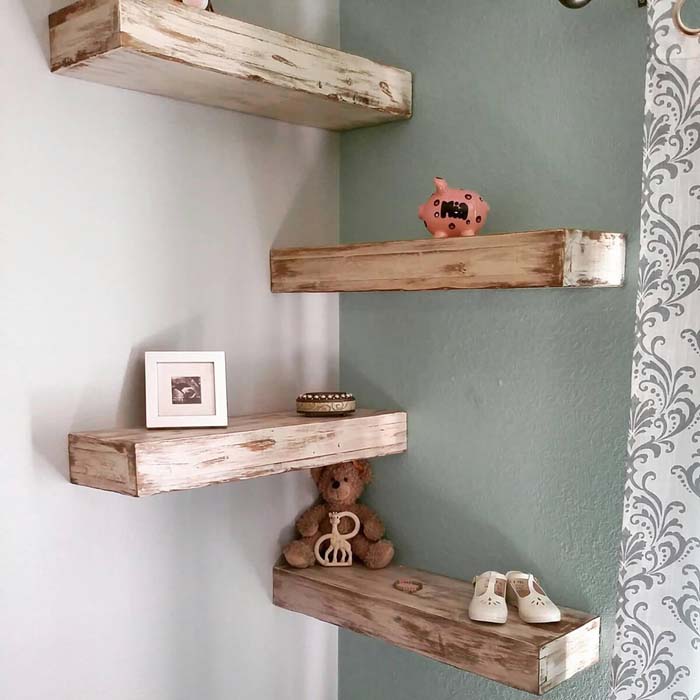
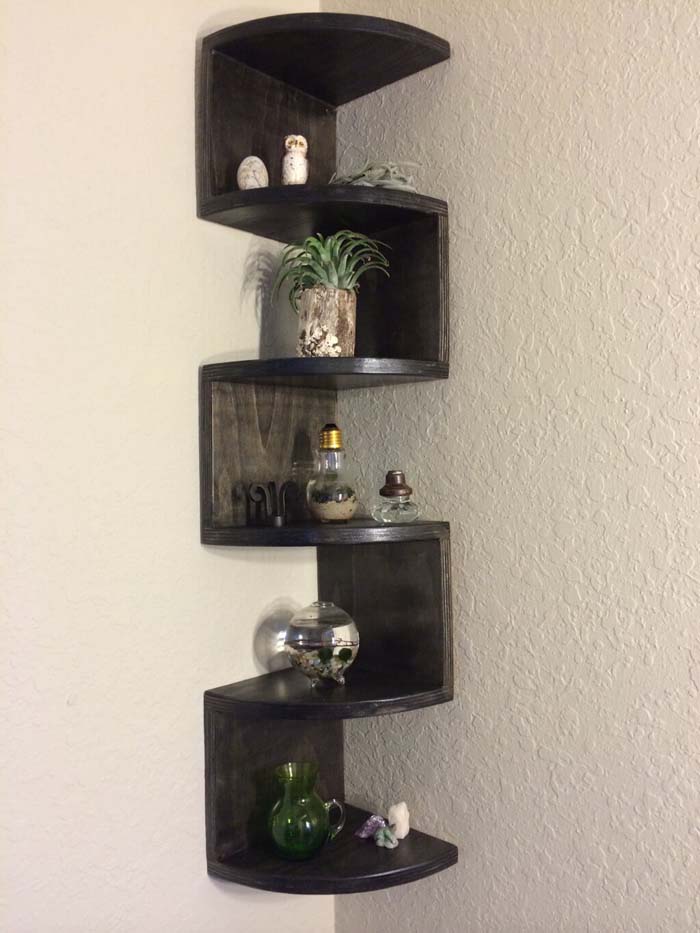
These stunning shelves are beautiful and practical — they’re designed to look like hollow wooden boxes, providing plenty of room to show off the gorgeous distressed finish.
The empty interior and open bottom also allows easy mounting, so the shelves appear to float in the corner.
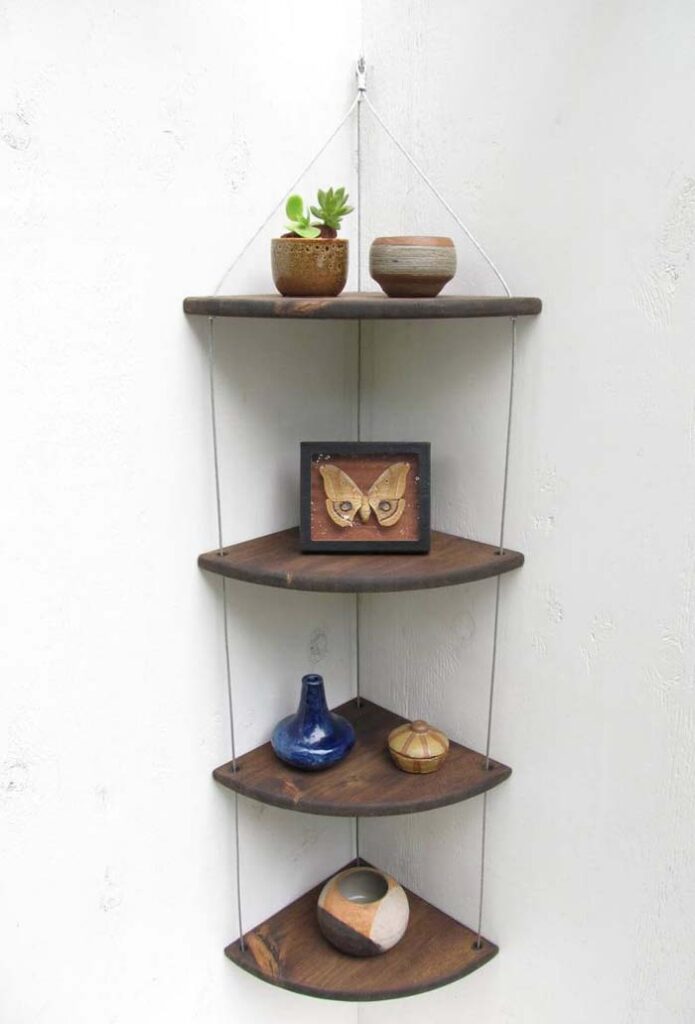
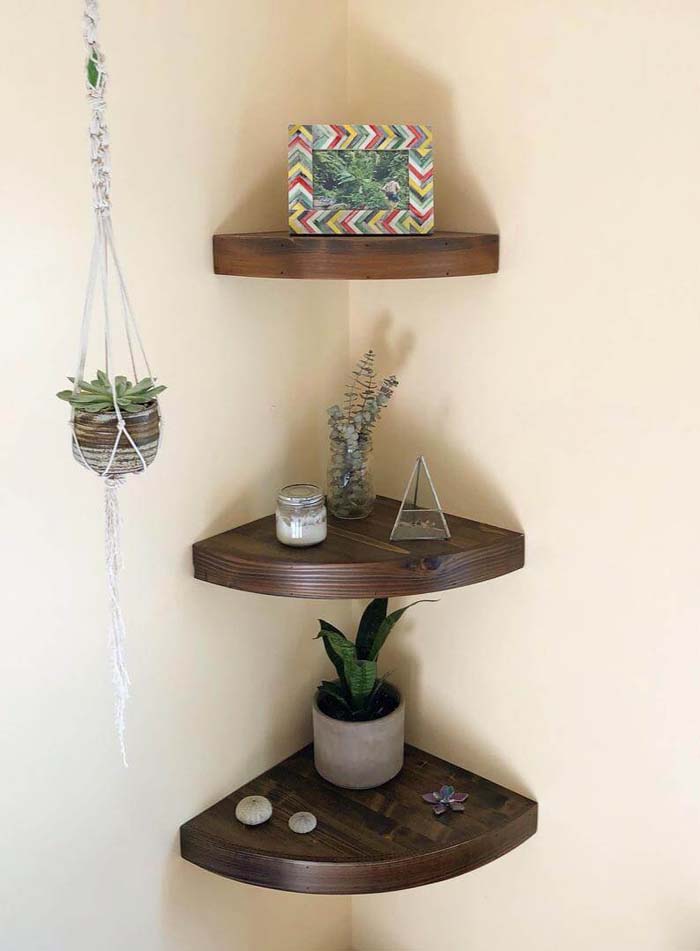
Transform a small corner into a focal point of your home by mounting three wedge-shaped shelves.
Here, each shelf is a different size; the rounded front edges tie the set together.
source: www.decorhomeideas.com
Use your adorable shelves to store towels in a bathroom or showcase your favorite treasures and potted plants in other rooms.
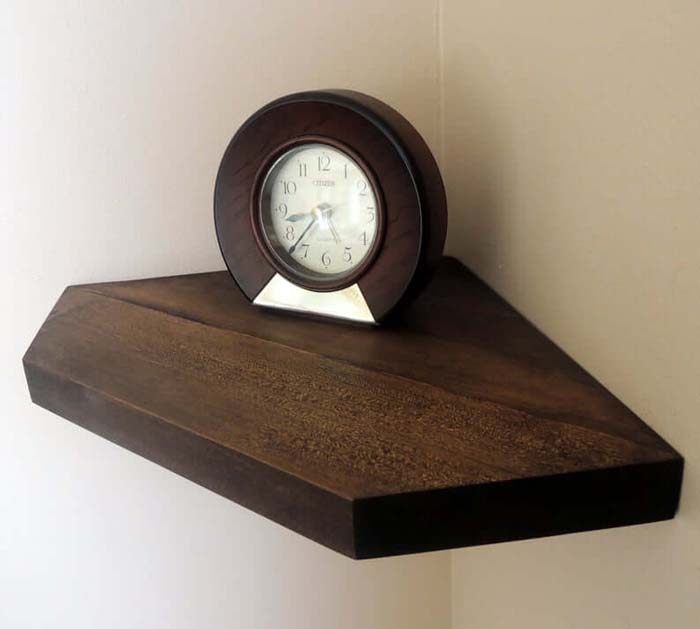
If you live in a contemporary or mid-century modern home, a geometric wooden shelf can make a striking design statement.
The secret is to choose an unexpected or asymmetric shape that pops against the wall.
Make sure to mount your shelf low enough to show off the unique design.
The bark and natural coloring bring texture to the wall, and the visible wood grain adds a pop of pattern.
To prevent splinters, simply sand down the top and outside edges.


Recent Comments